
Making Kiwi Wine

Not going to give you a long commentary, just what I think will help you all along in your journey in Kiwi wine making, or just fruit wine making.
A bit about my experience: I am not a seasoned wined maker. I have made wine and liqueurs 6 times. Out of all the wines I have made so far, kiwi was my favorite. I am currently making kiwi again because I loved it so much and I like to put all that kiwi fruit to good use.
First I made it in a small 2 gallon batch and now I am making a 5 gallon batch. It is difficult to find recipes for kiwi in a large batch. Here I will give my notes/recipe for both. Also, one of the the websites I used to help me make the wine was EC Kraus
Unlike baking recipes where you can just double the recipe and get more brownies…You cannot do that with wine. It truly is chemistry, something I have never been good at. But I am good at asking people who know a lot of stuff about making wine, a lot of questions. For this I give a big shout out to Sierra Moonshine and John, the head of the enology lab there. He was more than generous with his knowledge of winemaking.
My recipes are not by the book nor are they the only way to make wine, they are simply how I did it and it worked. I will be telling you why it worked.
A note on fruit wine: they say the more acidic the fruit the sweeter the wine. That is very much proven to be true with this kiwi wine. I did not back sweeten it at all like I did the plum wine I made. It was extremely enjoyable to drank. Plums, which are very sweet as a fruit, makes very dry wine.
First the recipes, then I will add the details below.
Kiwi Recipe (2 gl.)
- 8 pounds of peeled kiwi then crushed
- 4 pounds pure cane sugar (dissolved)
- 2 tsp. acid blend
- 1 tsp. pectic enzyme
- ¼ tsp. Tannin
- 2 tsp. yeast nutrient
- 7.5 ml Potassium metabisulfate or 10 Camden Tablets
- Yeast
Kiwi Recipe (5gl.)
- 20 Pounds of peeled kiwi then crushed
- 9 pounds pure cane sugar (dissolved)
- 2 tsp acid blend
- ½ pectic enzyme
- 1 tsp. wine tannin
- 1tbsp yeast nutrient
- 10 Camden Tablets
- Yeast
Before you start: Sanitize the hell out of everything. I was such a fanatic the first time, I even sanitized the whole kitchen knowing how dirty I normally am when I cook. Basically, anything that comes in contact with the fruit or liquids have to be sanitized. If you are uncertain…SANITIZE IT! I use Star San to do this easily. A big double sink is helpful.
A couple of notes on the ingredients: it is important to know the function of each ingredient, this will help you to understand portion and be able to play with it just a little bit. I will go over just a few things I learned and the rest you can google.

Yeast- Super important. First, the quantity does not change for 5 gl and less. You use the same packet for all. Also, yeast is a huge contributing factor when it comes to the flavor/taste of your wine. This is where doing the same fruit wine several times and using different yeast is a great experiment in wine. Generally speaking you should choose a white wine yeast like Premier Cote des Blanks from Red Star or a chardonnay yeast like Lalvin ICV D-47 yeast. Both would work fine.
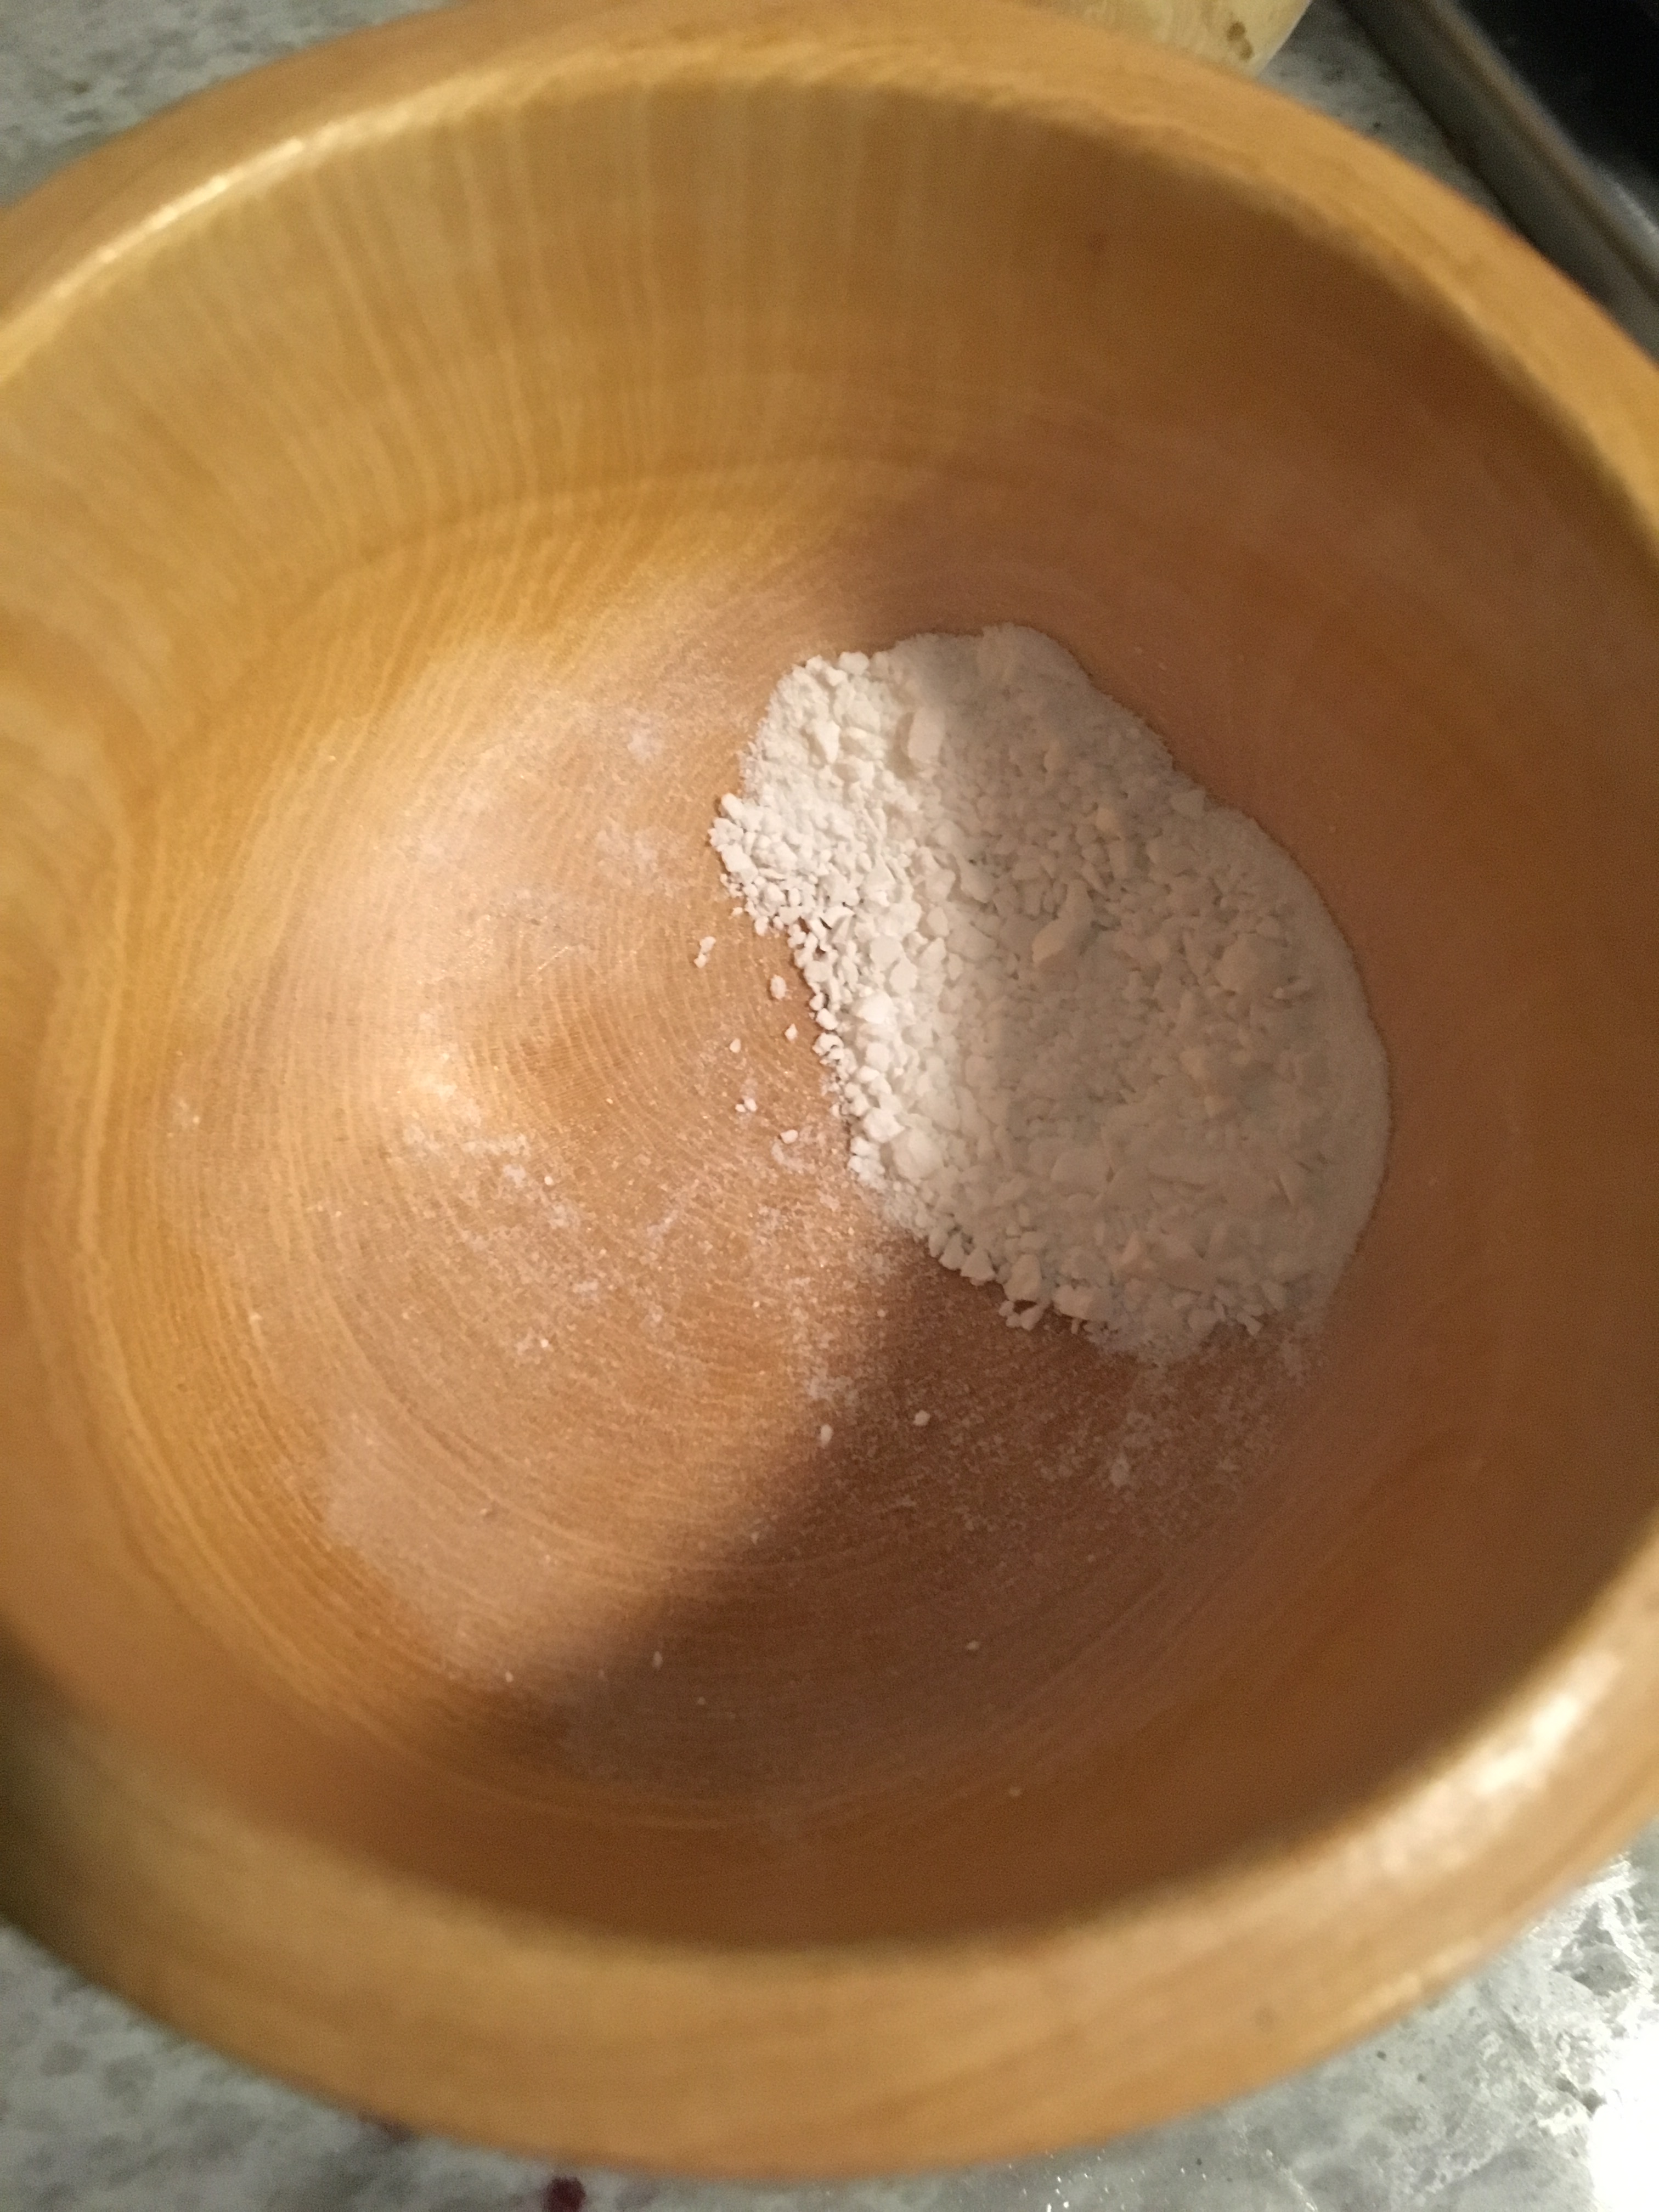
A note about Camden tablets vs. potassium metabisulfate (PM)– These are both used to kill off any foreign type substance (wild yeast) already occurring or growing in the fruit. It sterilizes the wine if done correctly. Camden tablets are the solid form of PM. Using one or the other? You can use either; just make sure you get the proper recommendations for PM. Also, the liquid form tends to go bad quicker because it is a liquid. I have not had a problem with mine in the 2 years that I used the same bottle, but this is what I have been told, so many people like to use the crushed tablets to sterilize their wine. I liked that I could just pour the liquid in and done, no crushing. Although crushing the tablet was not a big deal.
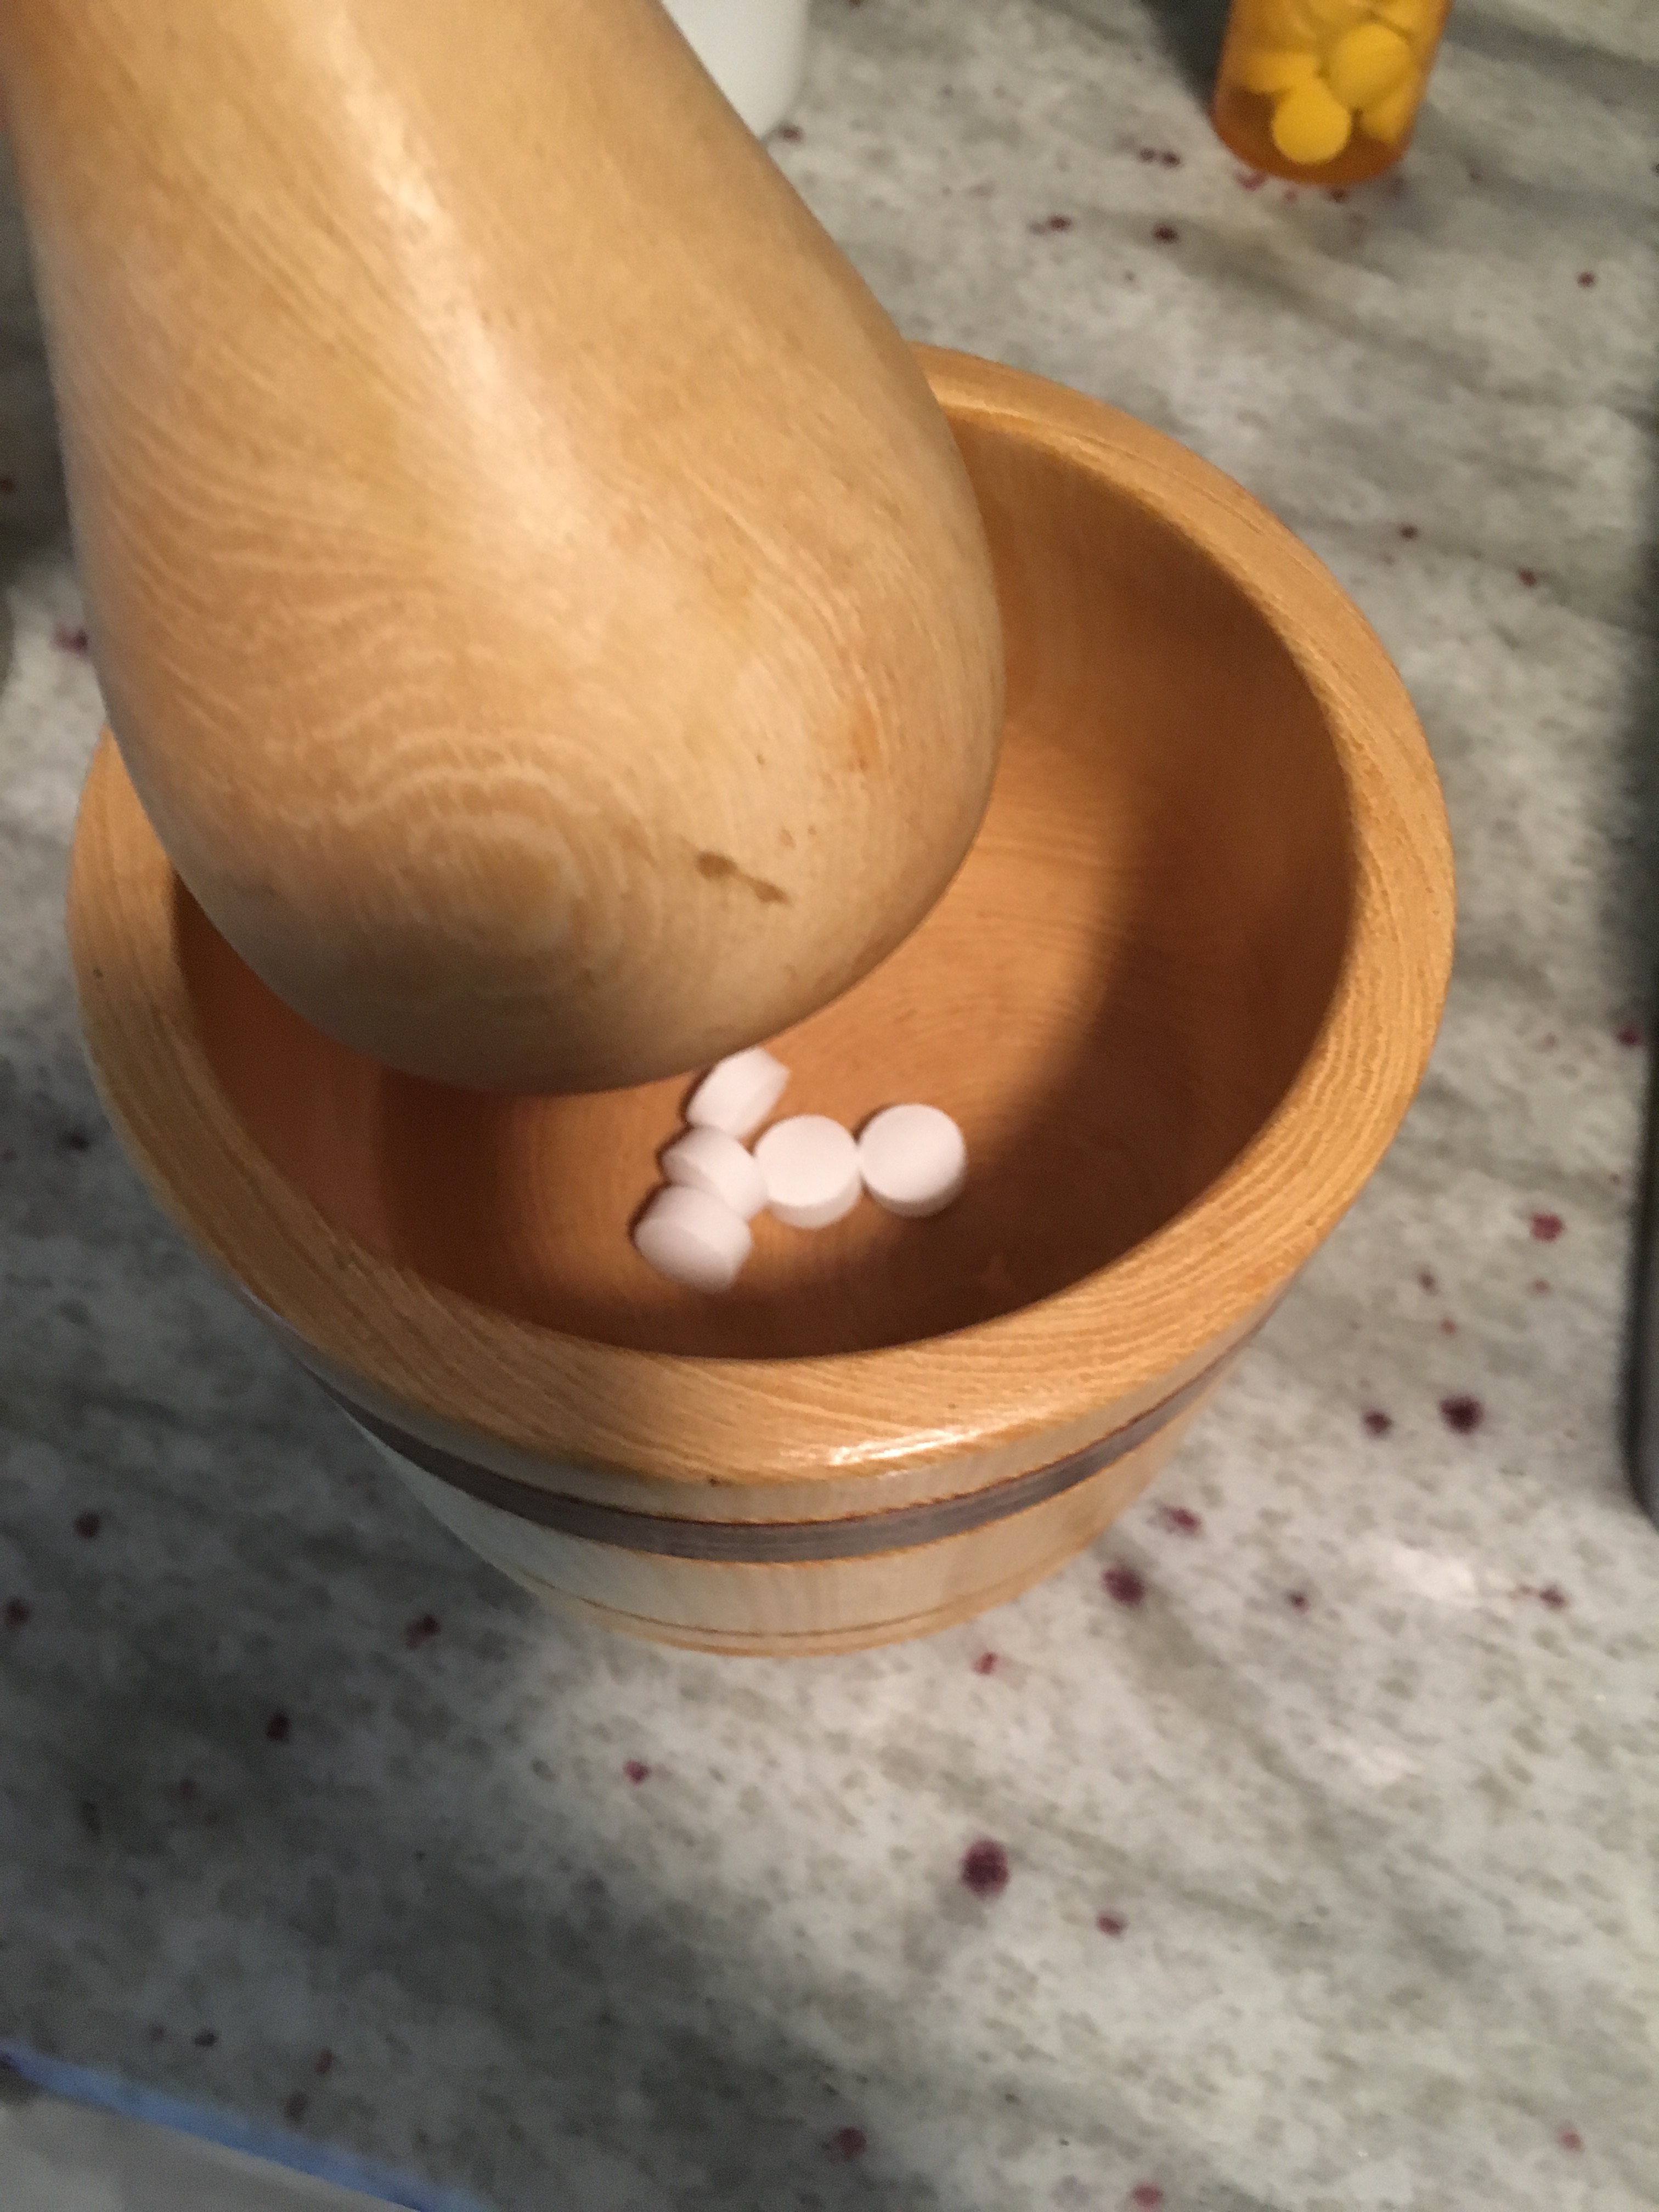
Next….The Kiwi itself:
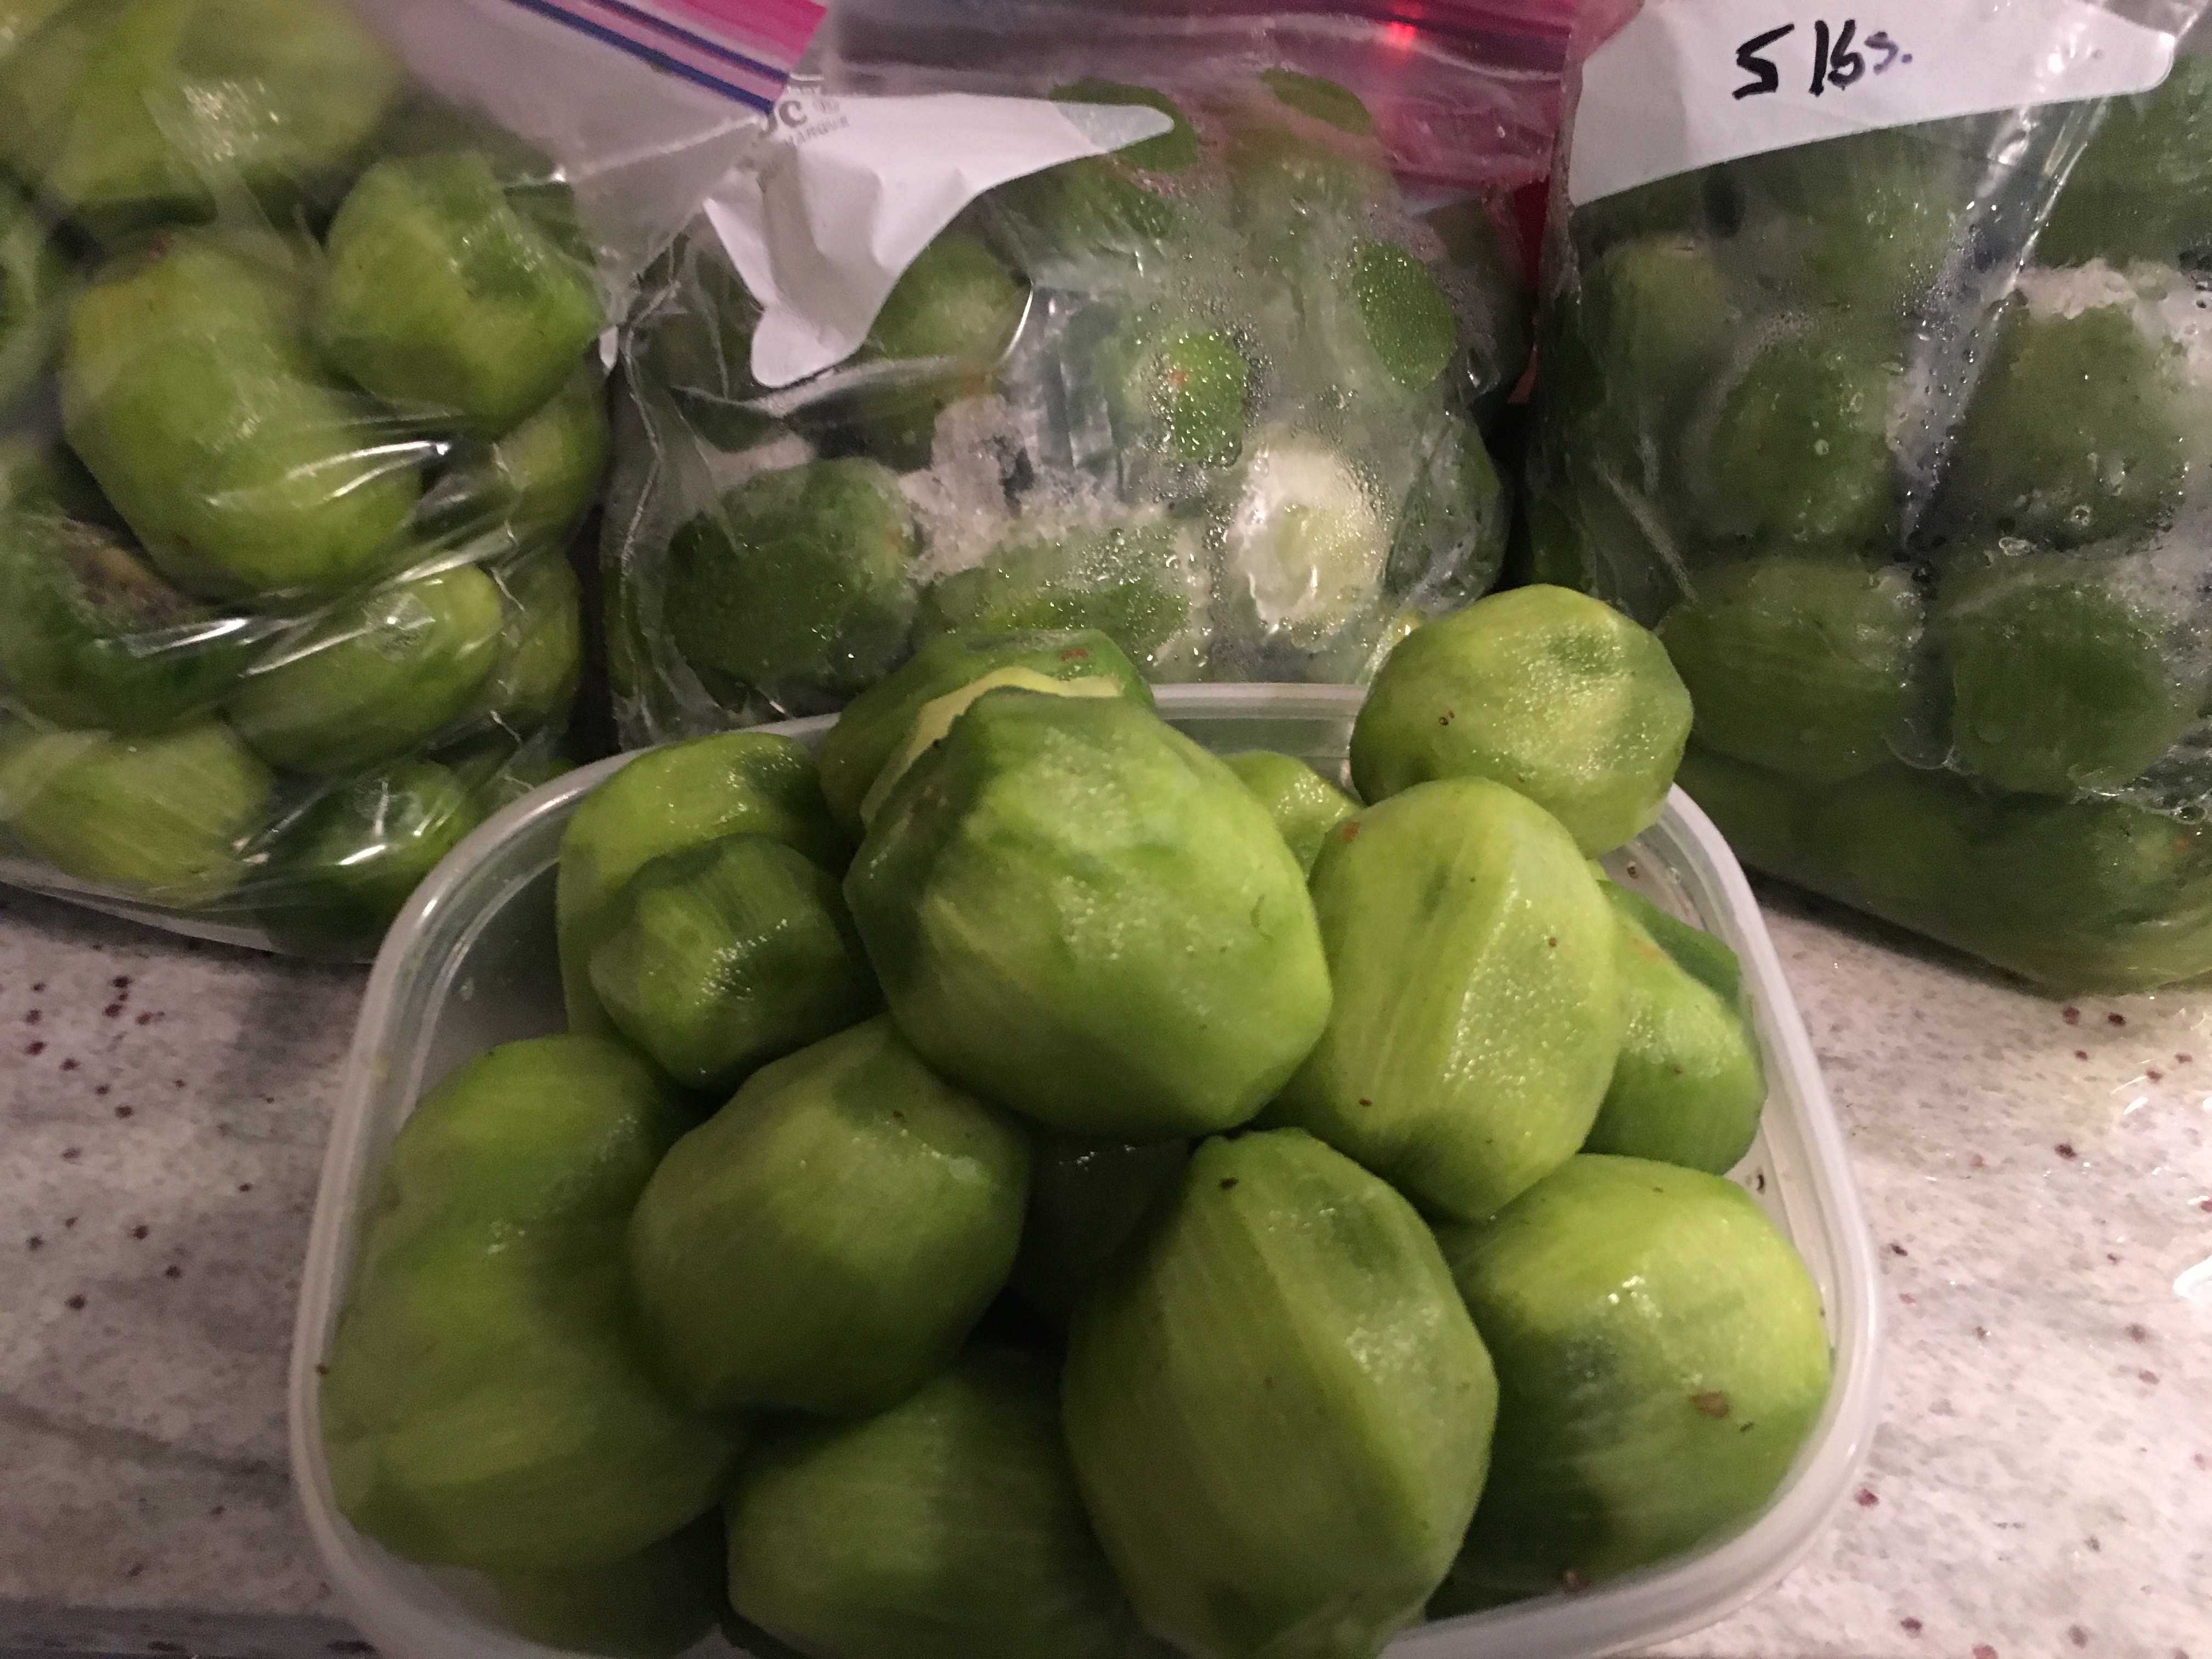
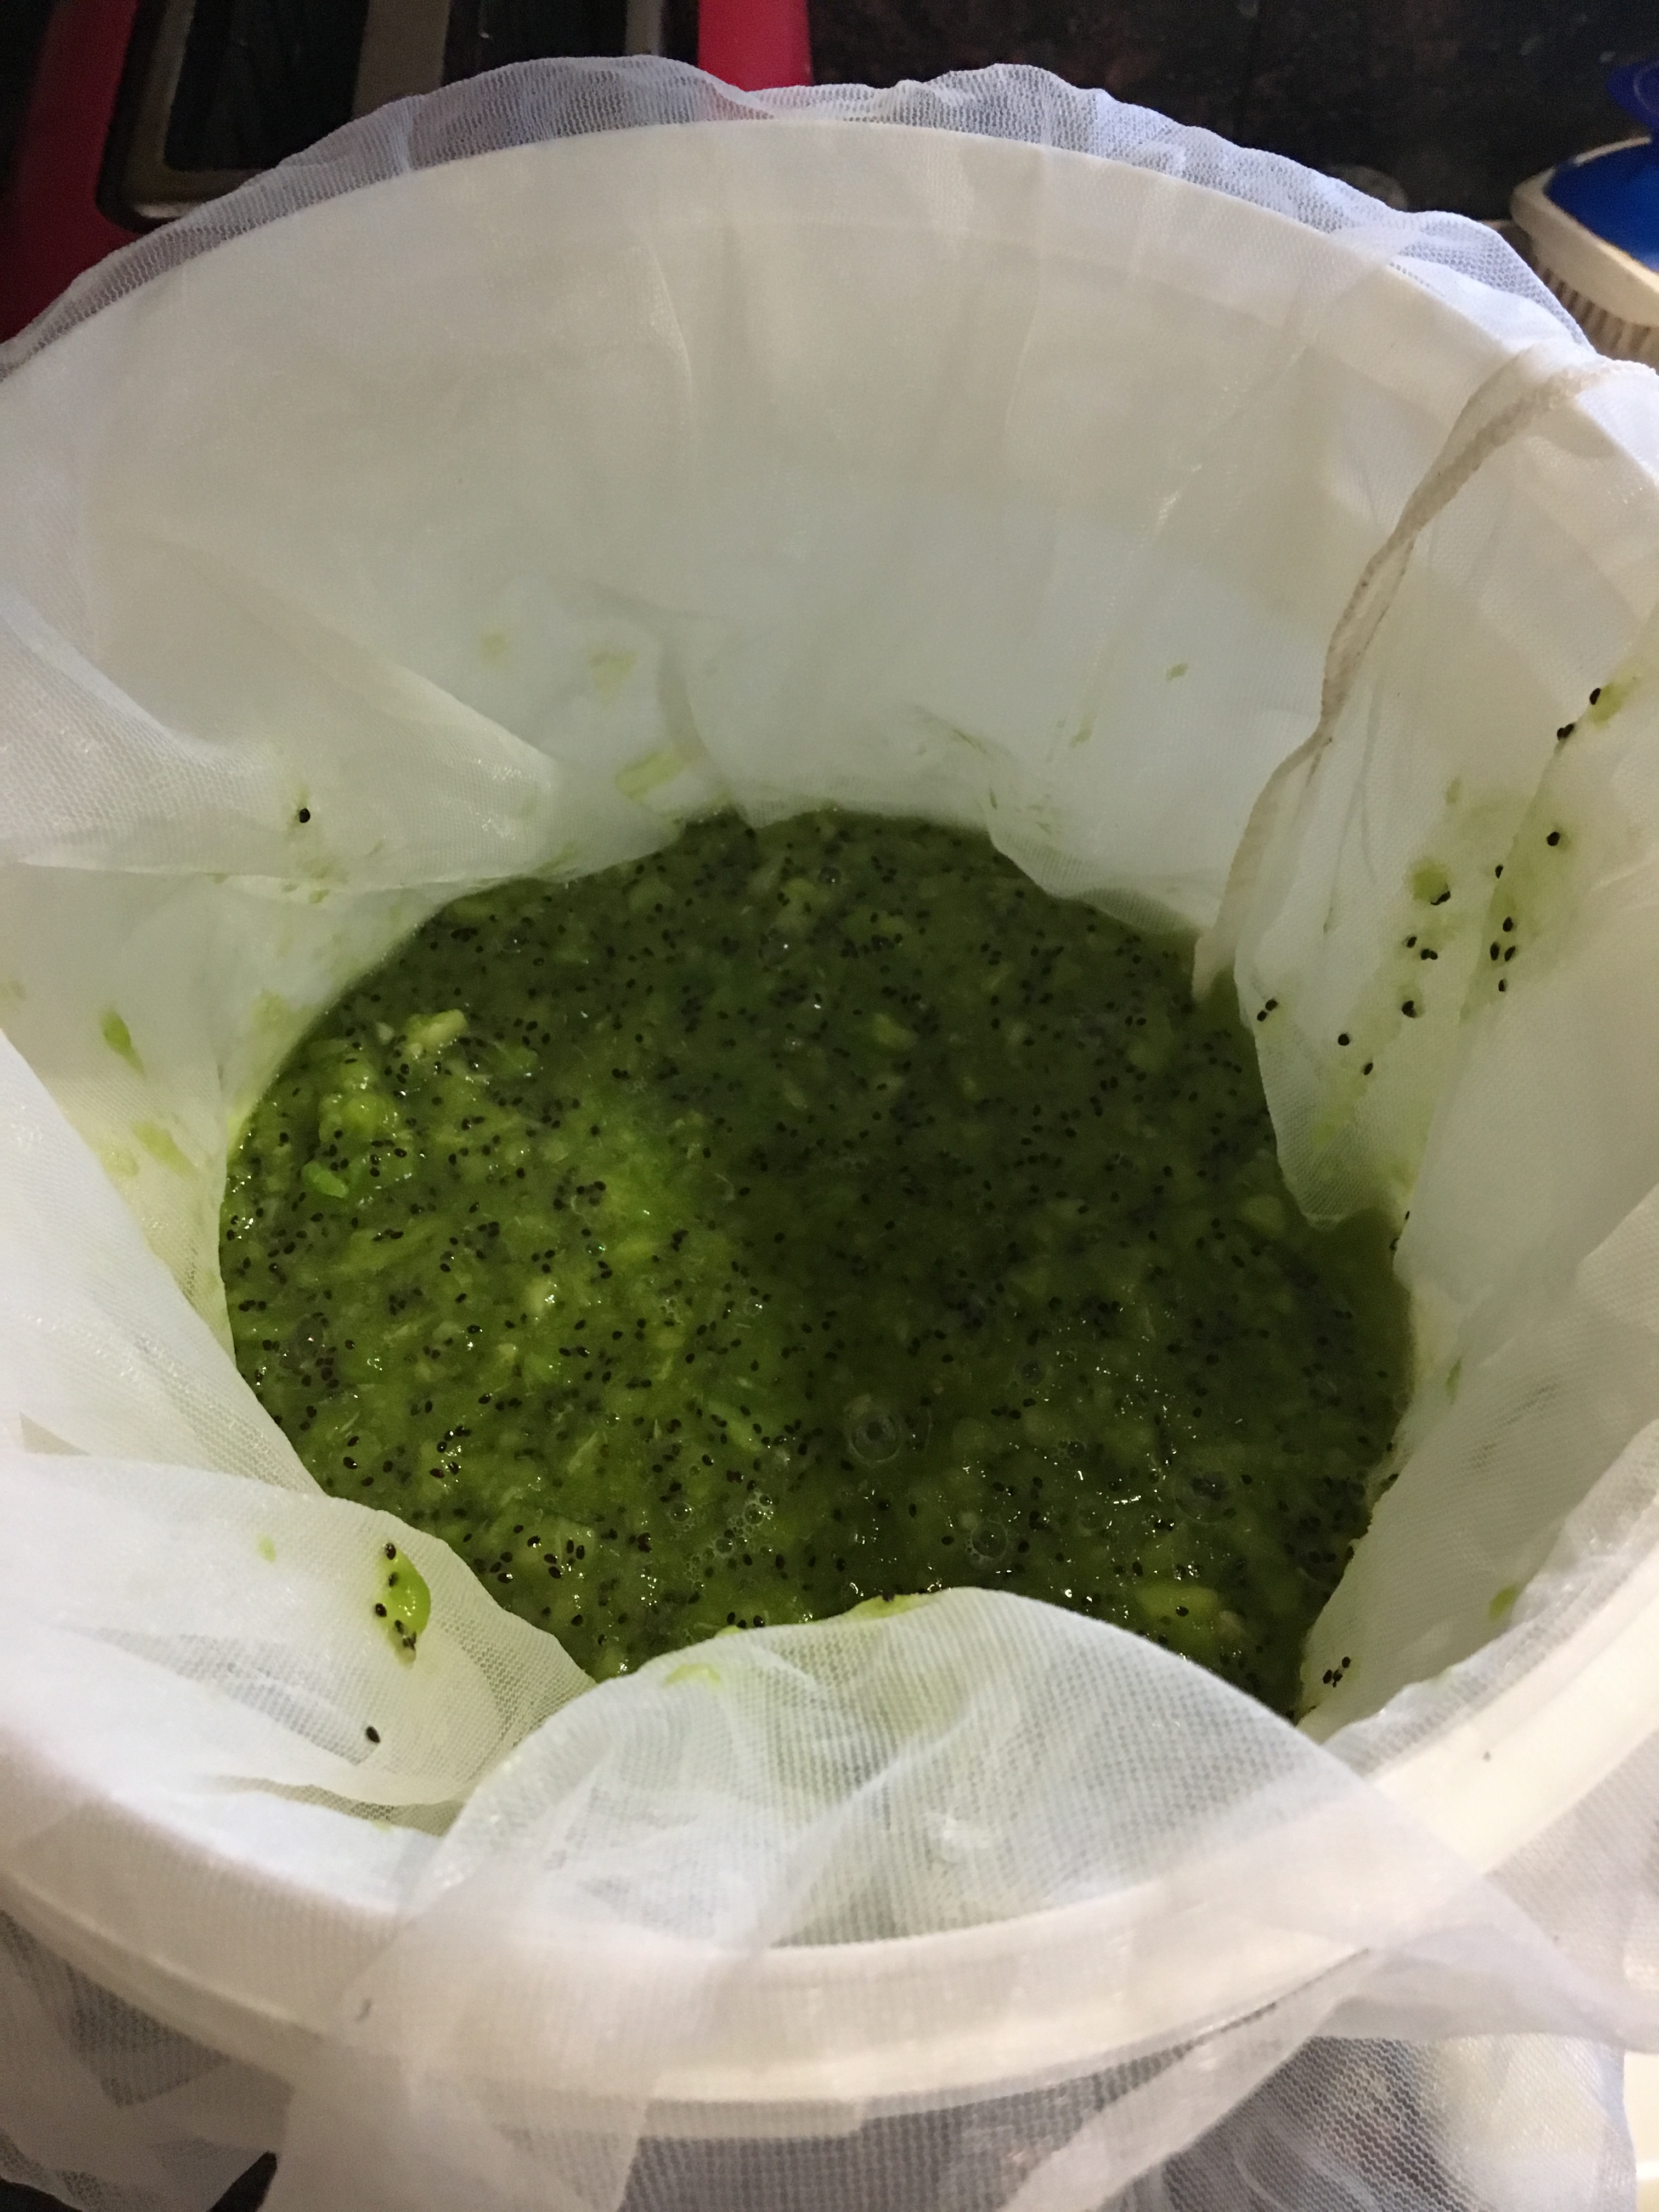
I have read several things when it comes to making kiwi wine. I read that you can leave the peels on, but I definitely don’t recommend this because it will cause a huge headache for you with all the sediment it will leave behind. And I am not sure if that would be overloading it on tannins because of the peel, so no. Also, I have read to put them in the blender. I also do not recommend this because again, it will blend them so mall that you will have a sediment problem which means a clarity problem. Basically it will take a lot longer to clarify your wine, if that is something that is important to you. What I do recommend is crushing it with your hands in zip lock bags. This is easy to do if you froze them ahead of time. If you did not have frozen kiwi ahead of time and you are using from a fresh state, then ok, crushing with your hands is harder. I would very carefully and lightly blend it in this case. You are putting it is a mesh bag so seeds are not an issue.
Also, when it comes to the fruit, don’t just throw in a piece of fruit that is on its last leg. You really must use the best fruit possible, wine is picky. It can ruin the whole batch if you do this. The Camden tablets only work so well. Besides, you are making wine, no cutting corners or you may pay for it later with vinegar, or worse.
Another tip:
Before you start, find a notebook and begin writing everything you do in it with as much detail as possible. You will thank yourself and me later for having done so.
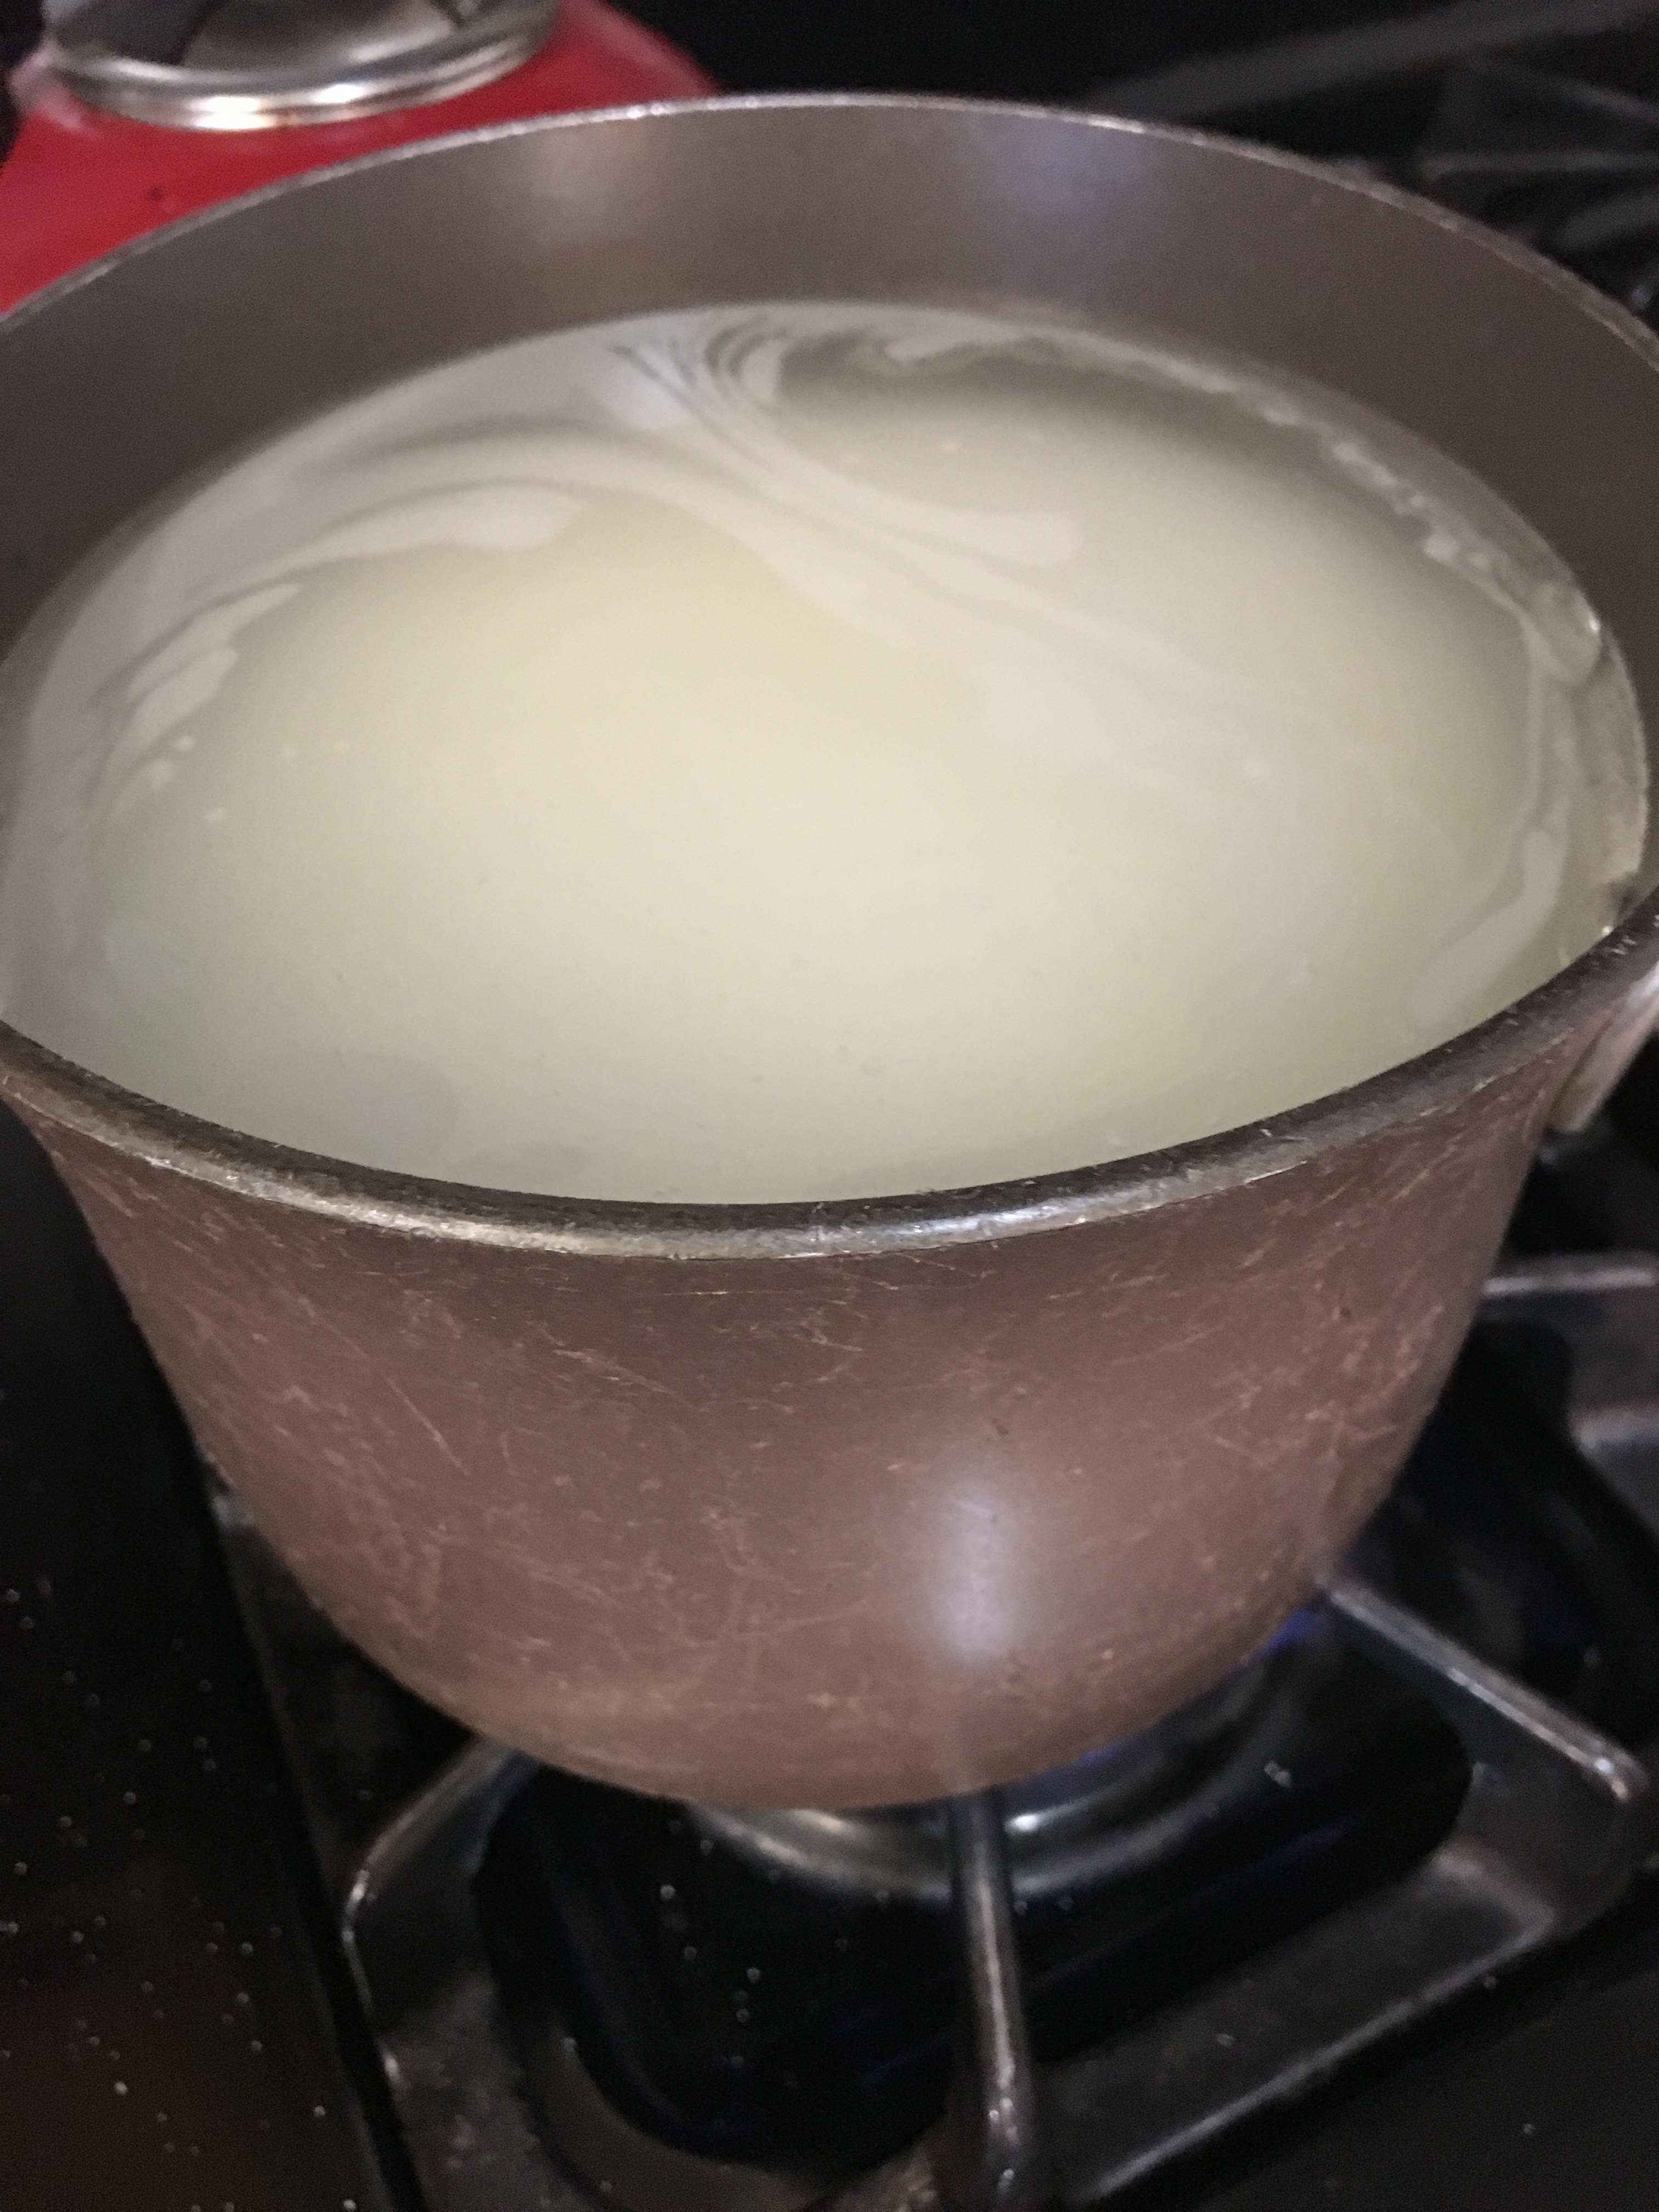
Sugar: When you add the sugar to the fruit mixture, dissolve it in some warm/hot water. Then let the sugar mixture cool to warm before adding. This makes for a better mix for the yeast to eat up.
After you have added all your ingredients minus the yeast you get to wait 24 hours, you are waiting for the PM or Camden Tablets to do their thing. Then after 24 house simply follow the rules on the back of the yeast pack for adding to your fruit. Mix well. (see above for sterilizing)
Water: If you live in a place that chlorinates the water, buy distilled water to add to the wine, don’t use chlorinated water. You will be adding water every time you rack the wine.
Taking the Fruit/Pulp out: This is not so bad with 2 gl. but taking 20 pounds of fruit out of the 5 gl. was not easy, I won’t lie. I read that I needed to get out as much liquid as possible. I highly recommend a helper for this much fruit. Someone to hold the bag and someone to squish out the liquid. My one arm holding up all that weight while trying to squeeze the liquid out was a nightmare and I made a mess doing it. You live and learn. This is why I am telling you!!
Also a reminder that at ever stage of handling the wine, everything must be sanitized. EVERYTHING
After taking the fruit out, adding the yeast and waiting a week, you get to siphon the wine/liquid into a carboy. Again I learned something with the kiwi. They say to wait a good amount of time after you take the bag of pulp out in order to let the sediment fall to the bottom. I waited 6 hours or so and it seamed to make no difference. I rely on my second racking a month later to separate the sediment. It does not seem to have had any bad effect on the wine. You can see in the picture below the difference between a month and 5 months when it comes to clarity.


Racking Wine: The reason for racking the wine is partially aging it, letting the yeast eat up all the sugar…blah blah blah. Really it is about finding the clarity. You can bottle the wine as soon as the yeast is gone. But if you want clarity then you keep racking it. Every time you rack the wine you are leaving sediment behind and adding a bit of water to top it off keeping the air space between the top of jug and wine minimal. So you can rock 2 times or 8 times I suppose. In this case I racked it 3 times and then bottled it. There is no set time really in between racking but I waited a month first, then two months, then another month before bottling. Pay close attention to the wine to check sediment and the air lock to see if there is movement. If there is movement that means the yeast is still eating up the sugar.
I have to bottle my wine and get it to cooler conditions before summer kicks in. I can’t let it sit in the carboy when the temps go up. I don’t have air conditioning in my house so I bottle it then take it to my moms house to store. This means I can’t take that added time to work on the clarity of the wine. Clarity does not effect the flavor of the wine, but it does look nice in a wine glass. So if you are lucky enough to have air conditioning or a special refrigerated container that holds a carboy, then keep on racking till that wine is clear. (I have a home with air conditioning now.)
My last reminder for this kiwi wine is as follows: when you get ready to bottle the wine, don’t forget to add the Camden tablets to PM. You want to make sure all the yeast is gone. Funny, once I thought all the yeast was gone, added the PM, but wanted to back sweeten it so I added more sugar then bottle it. I got sparkling wine! Turned out pretty good actually. Again, make sure you Sanitize all your bottles and corks.
All the fine details of wine making you can read on a bunch of other sites. This information is what I learned and what worked for me. Feel free to edit the sugar or even the tannins if you feel obliged to do so.
If you made it this far in the reading, feel free to message me and let me know how your experience was, or if you have any questions. I am more than happy to explain the best I can.
HAPPY WINE MAKING! CHEERS


+I’ve made a variety fruit wiover the last 18 years. The last one was kiwid I love it! Going to make another 5 gallon batch. A trick I’ve been doing for years is to pot the for years is to put the prepared fruit in new pantyhose. It works better than any other bag I’ve tried!
LikeLike
Great tip. I ran out of my kiwi wine, looks like I will be making it again this year. Maybe I will try the panty hose. 😊
LikeLike
This was VERY helpful. Thank you. Question: if you didn’t have a/c, why didn’t you consider leaving it in the refrigerator? Is that too cold?
I have a/c but I never keep it lower than 72°F (22°C)
LikeLike
The fridge is not too cold. I did a large portion so it would not fit in my fridge.
LikeLike